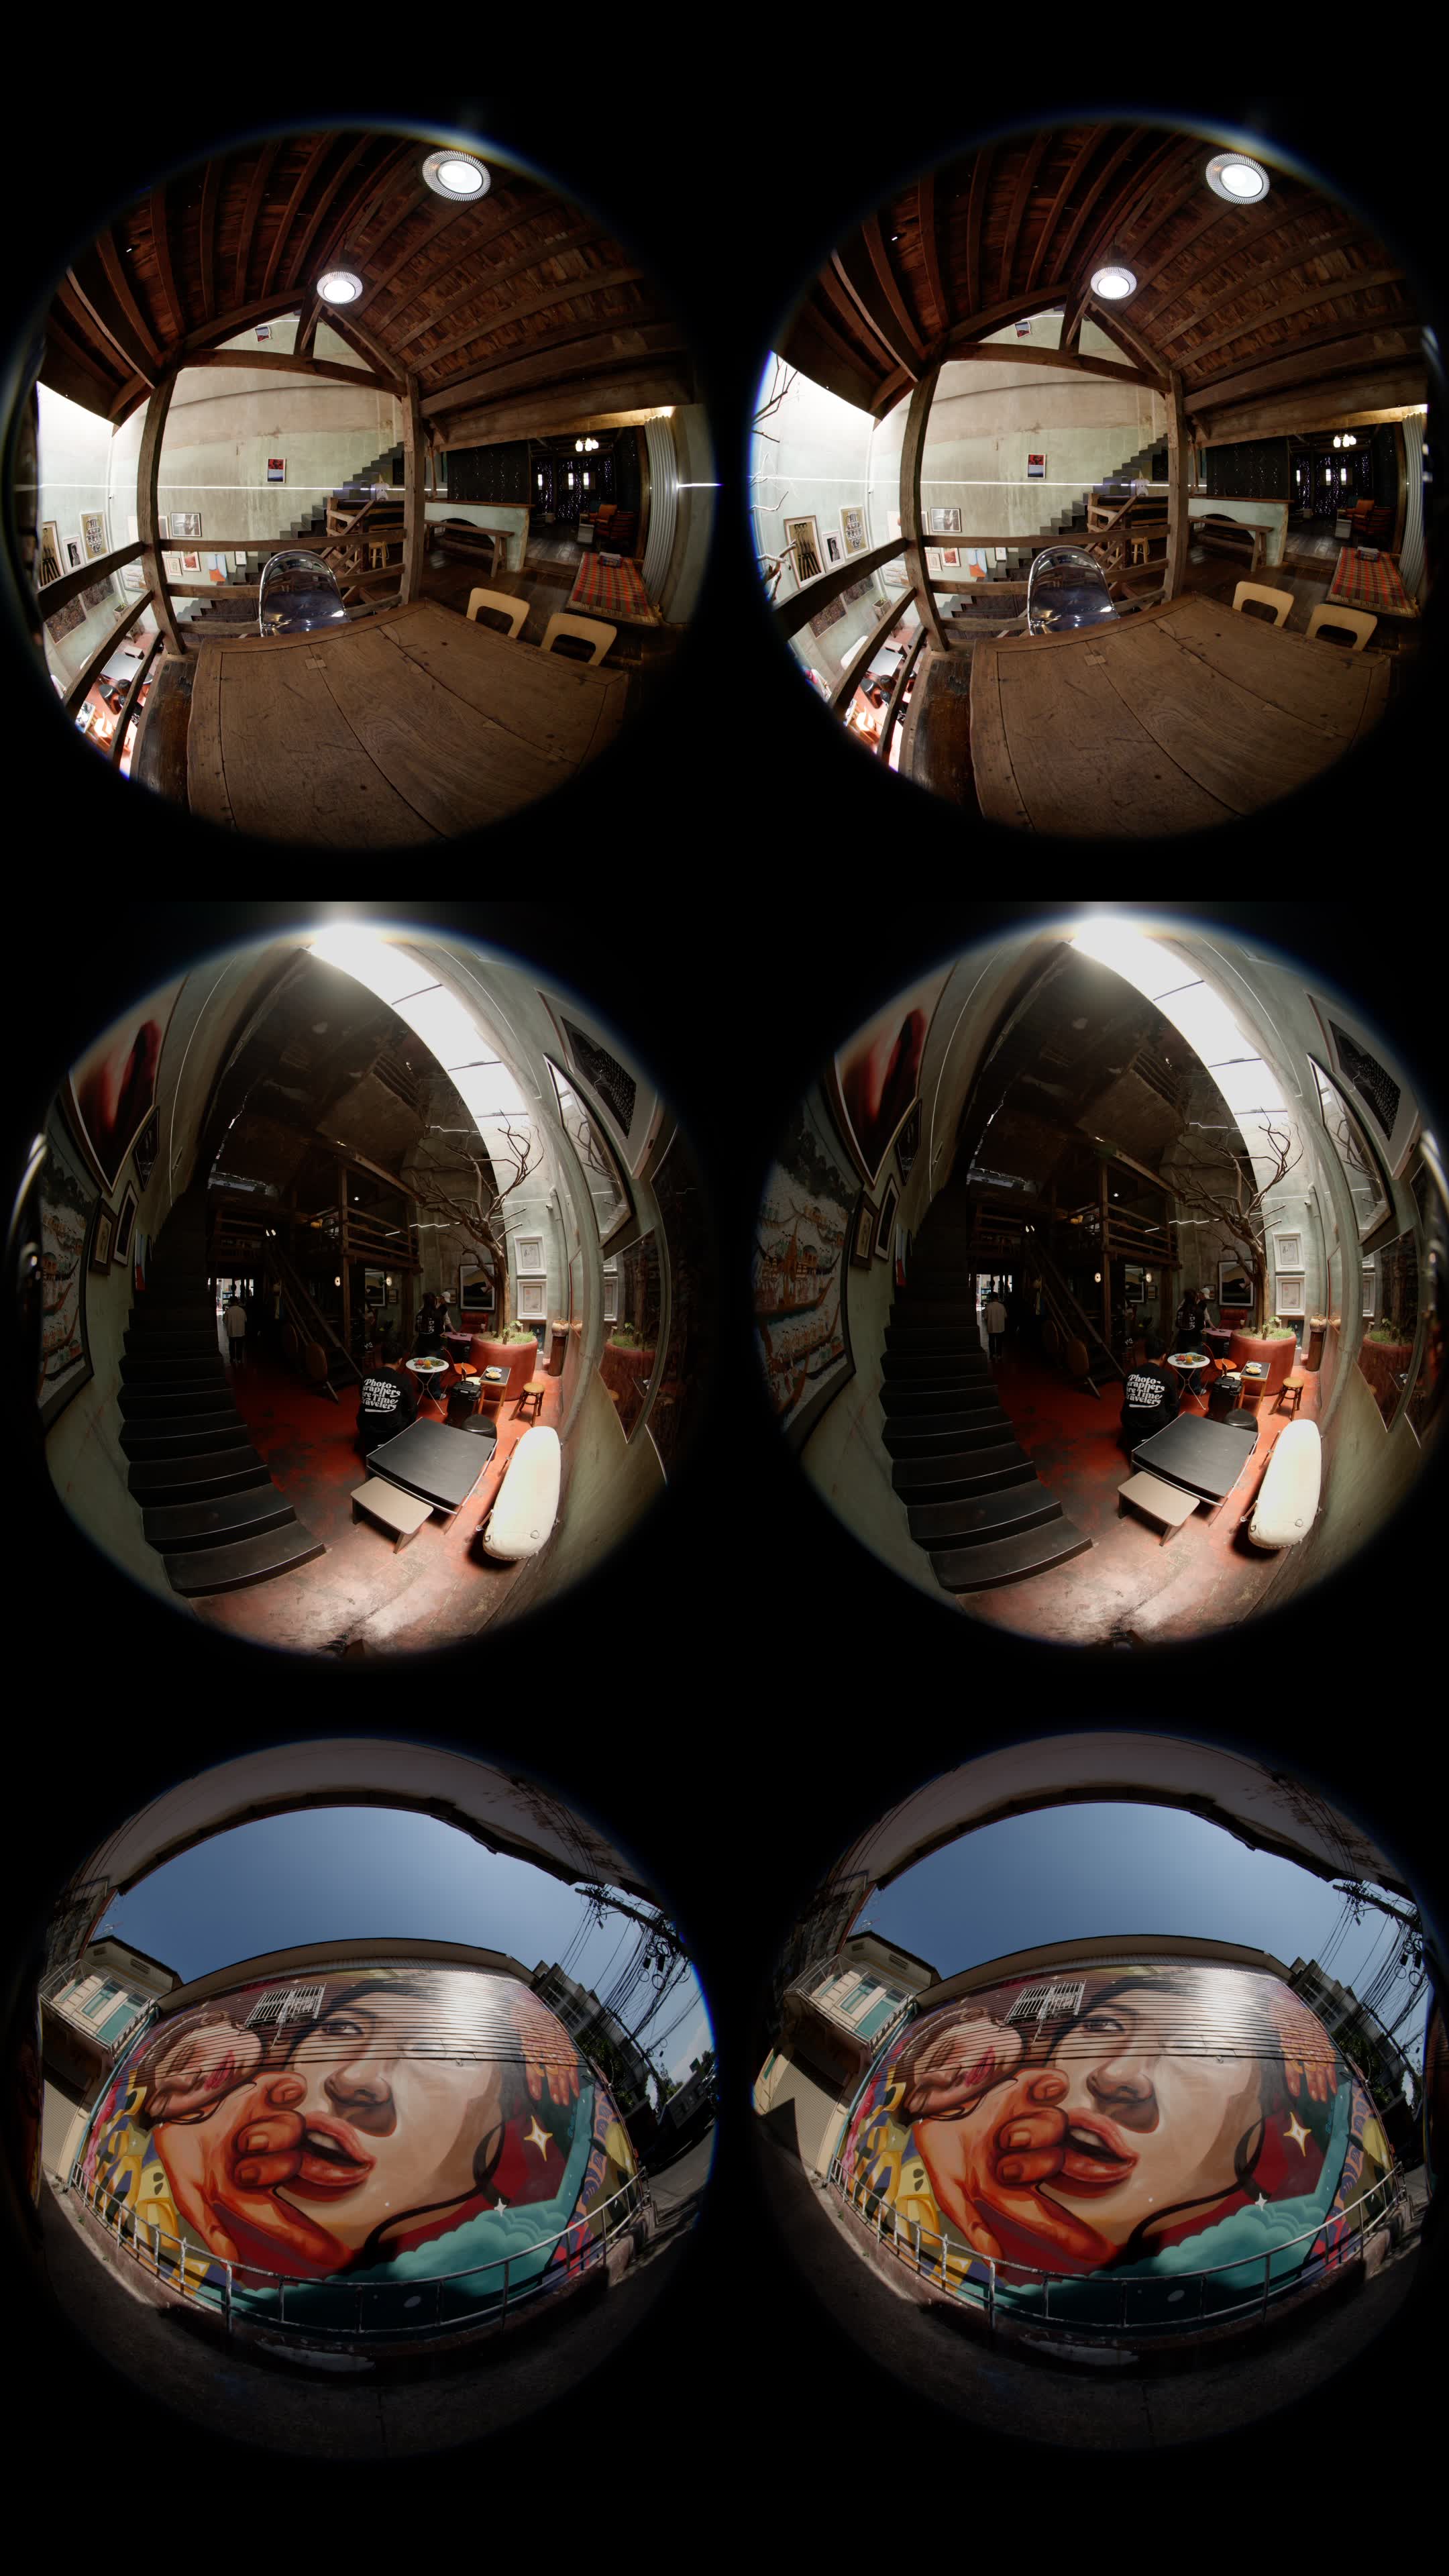
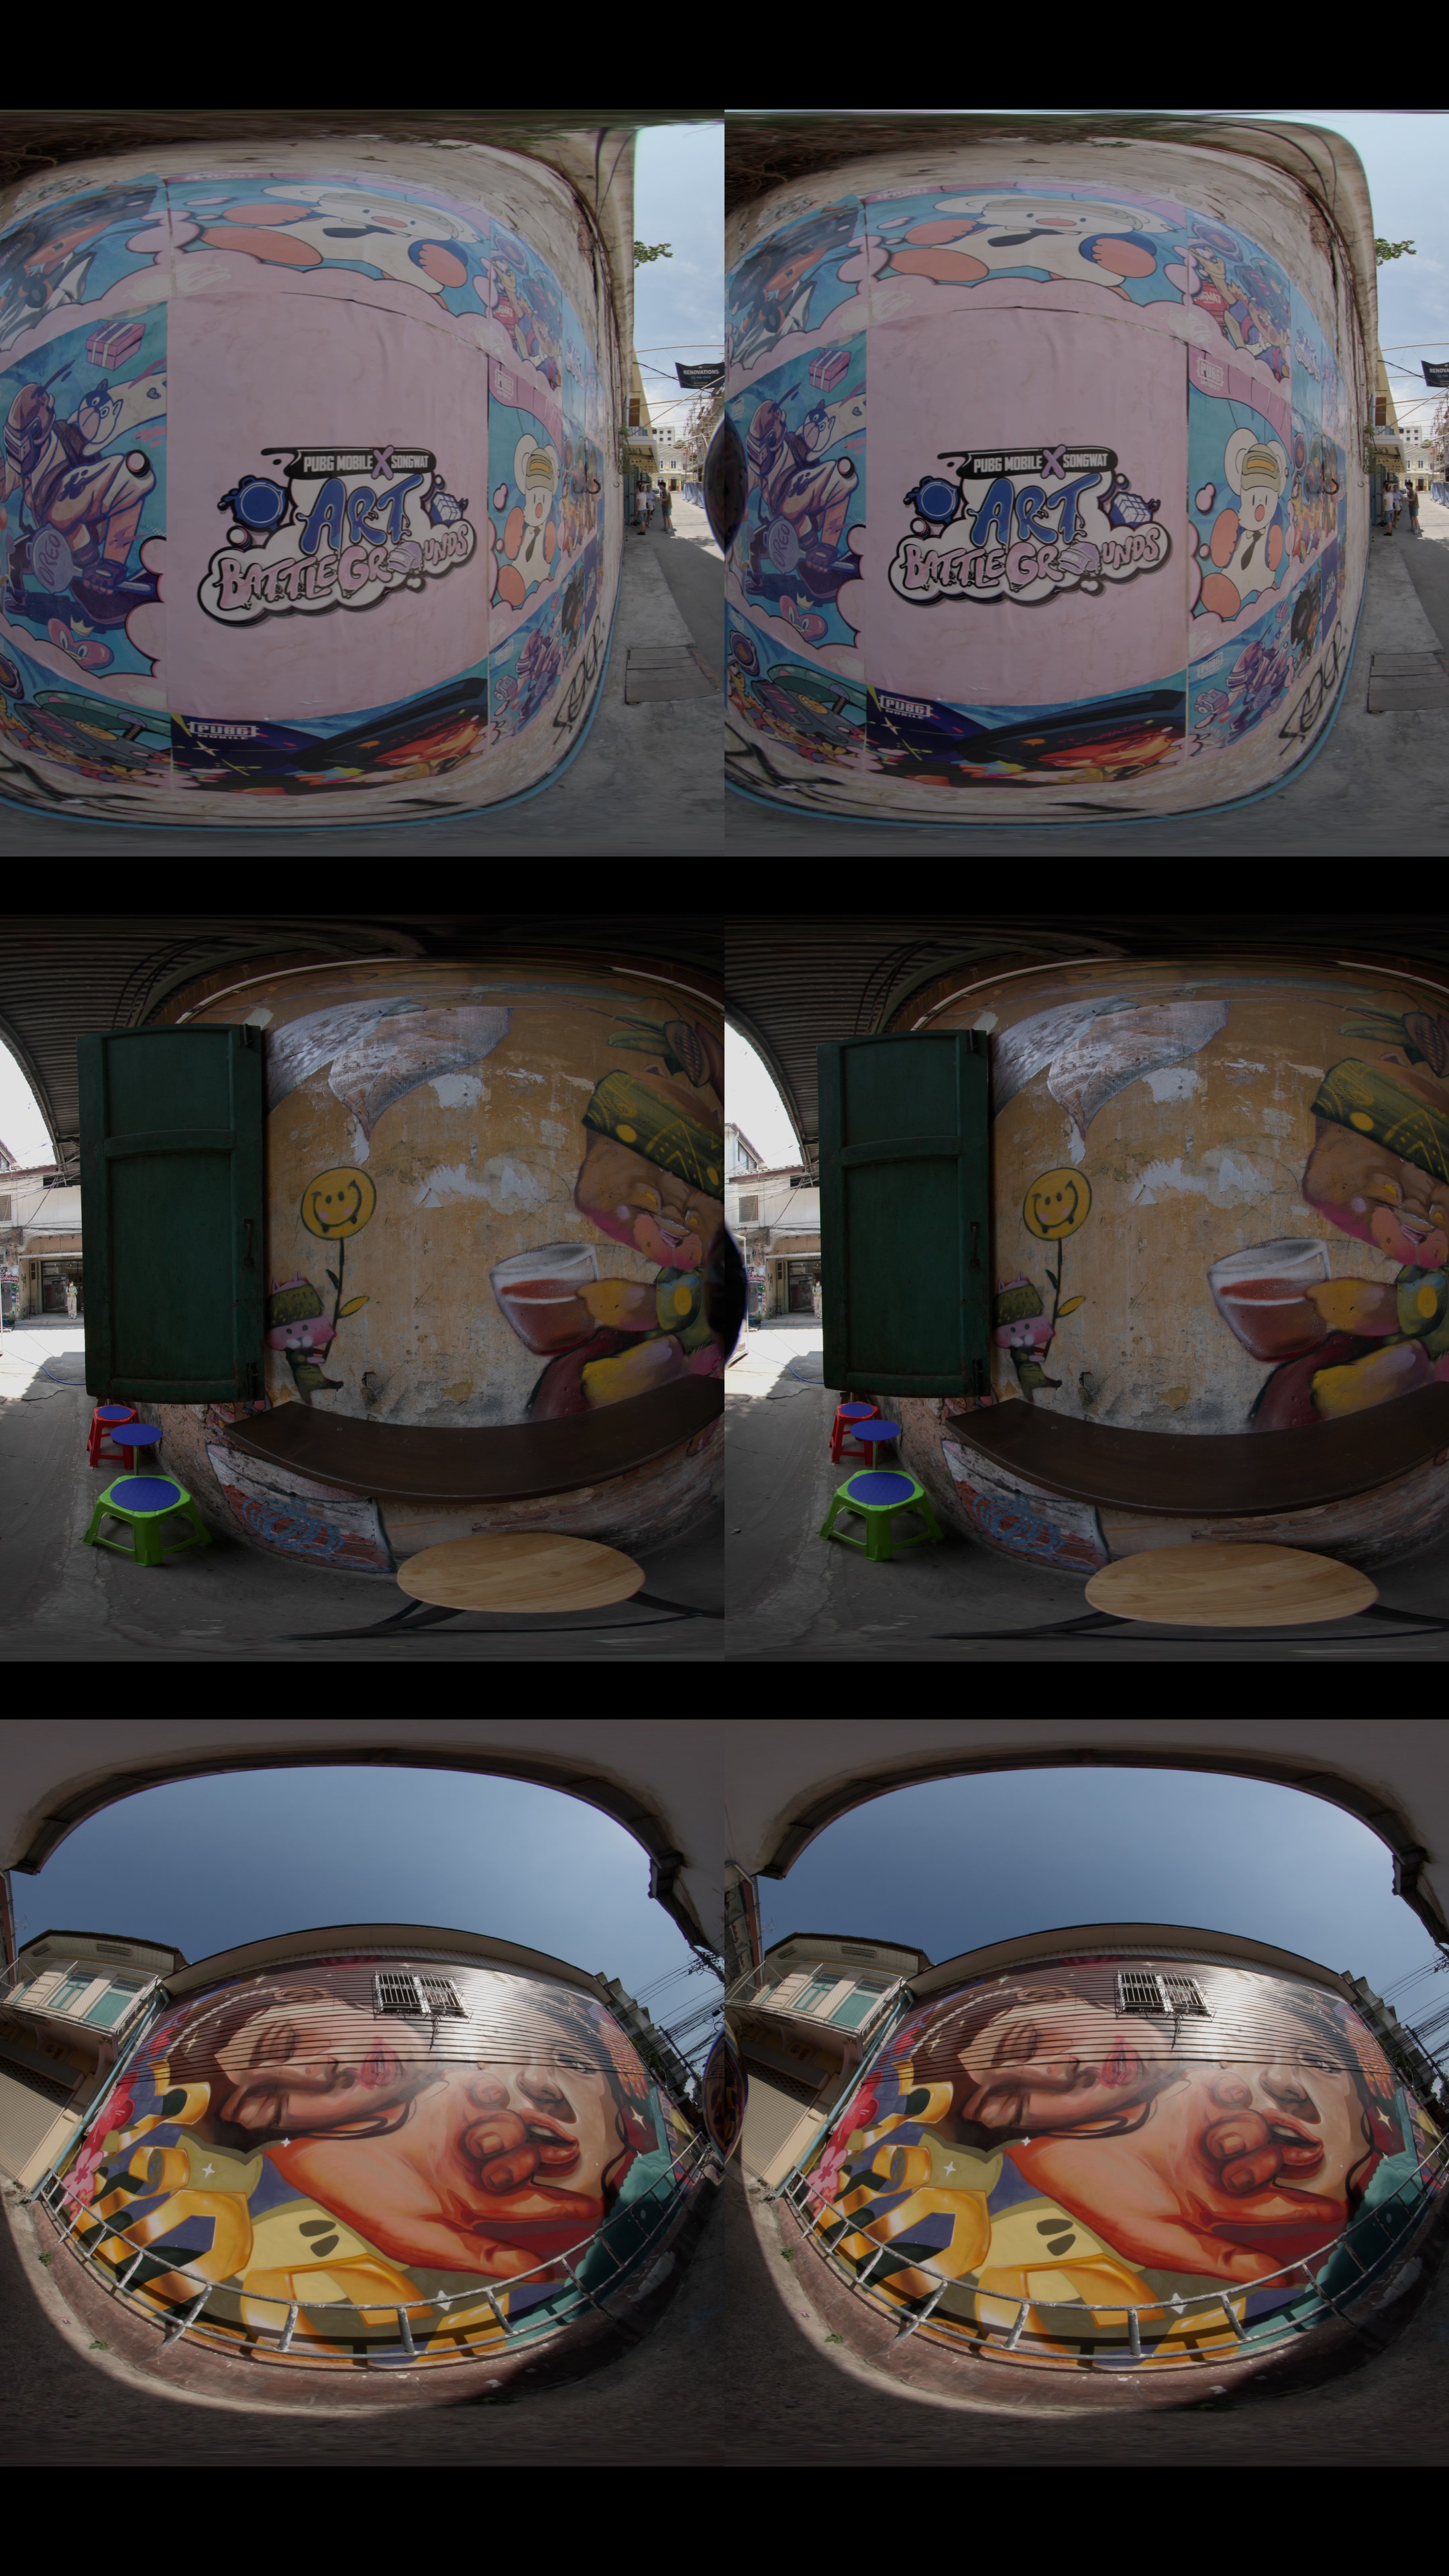
หลังจากถ่ายวิดีโอ VR มาเรียบร้อยแล้ว ขั้นตอนต่อไปจะต้องนำฟุตเทจที่ได้มาจัดการขั้นตอน Parallax ก่อน เราจึงใช้โปรแกรม EOS VR Utility จาก Canon ที่ช่วยแปลงฟุตเทจจากรูปแบบ Dual Circular Fisheye ให้กลายเป็นภาพแบบ Equirectangular ที่จะสามารถนำไปตัดต่อได้ ขั้นตอนง่ายๆ คือ
• เปิดโปรแกรม EOS VR Utility แล้วนำเข้าไฟล์ฟุตเทจที่ถ่ายมา
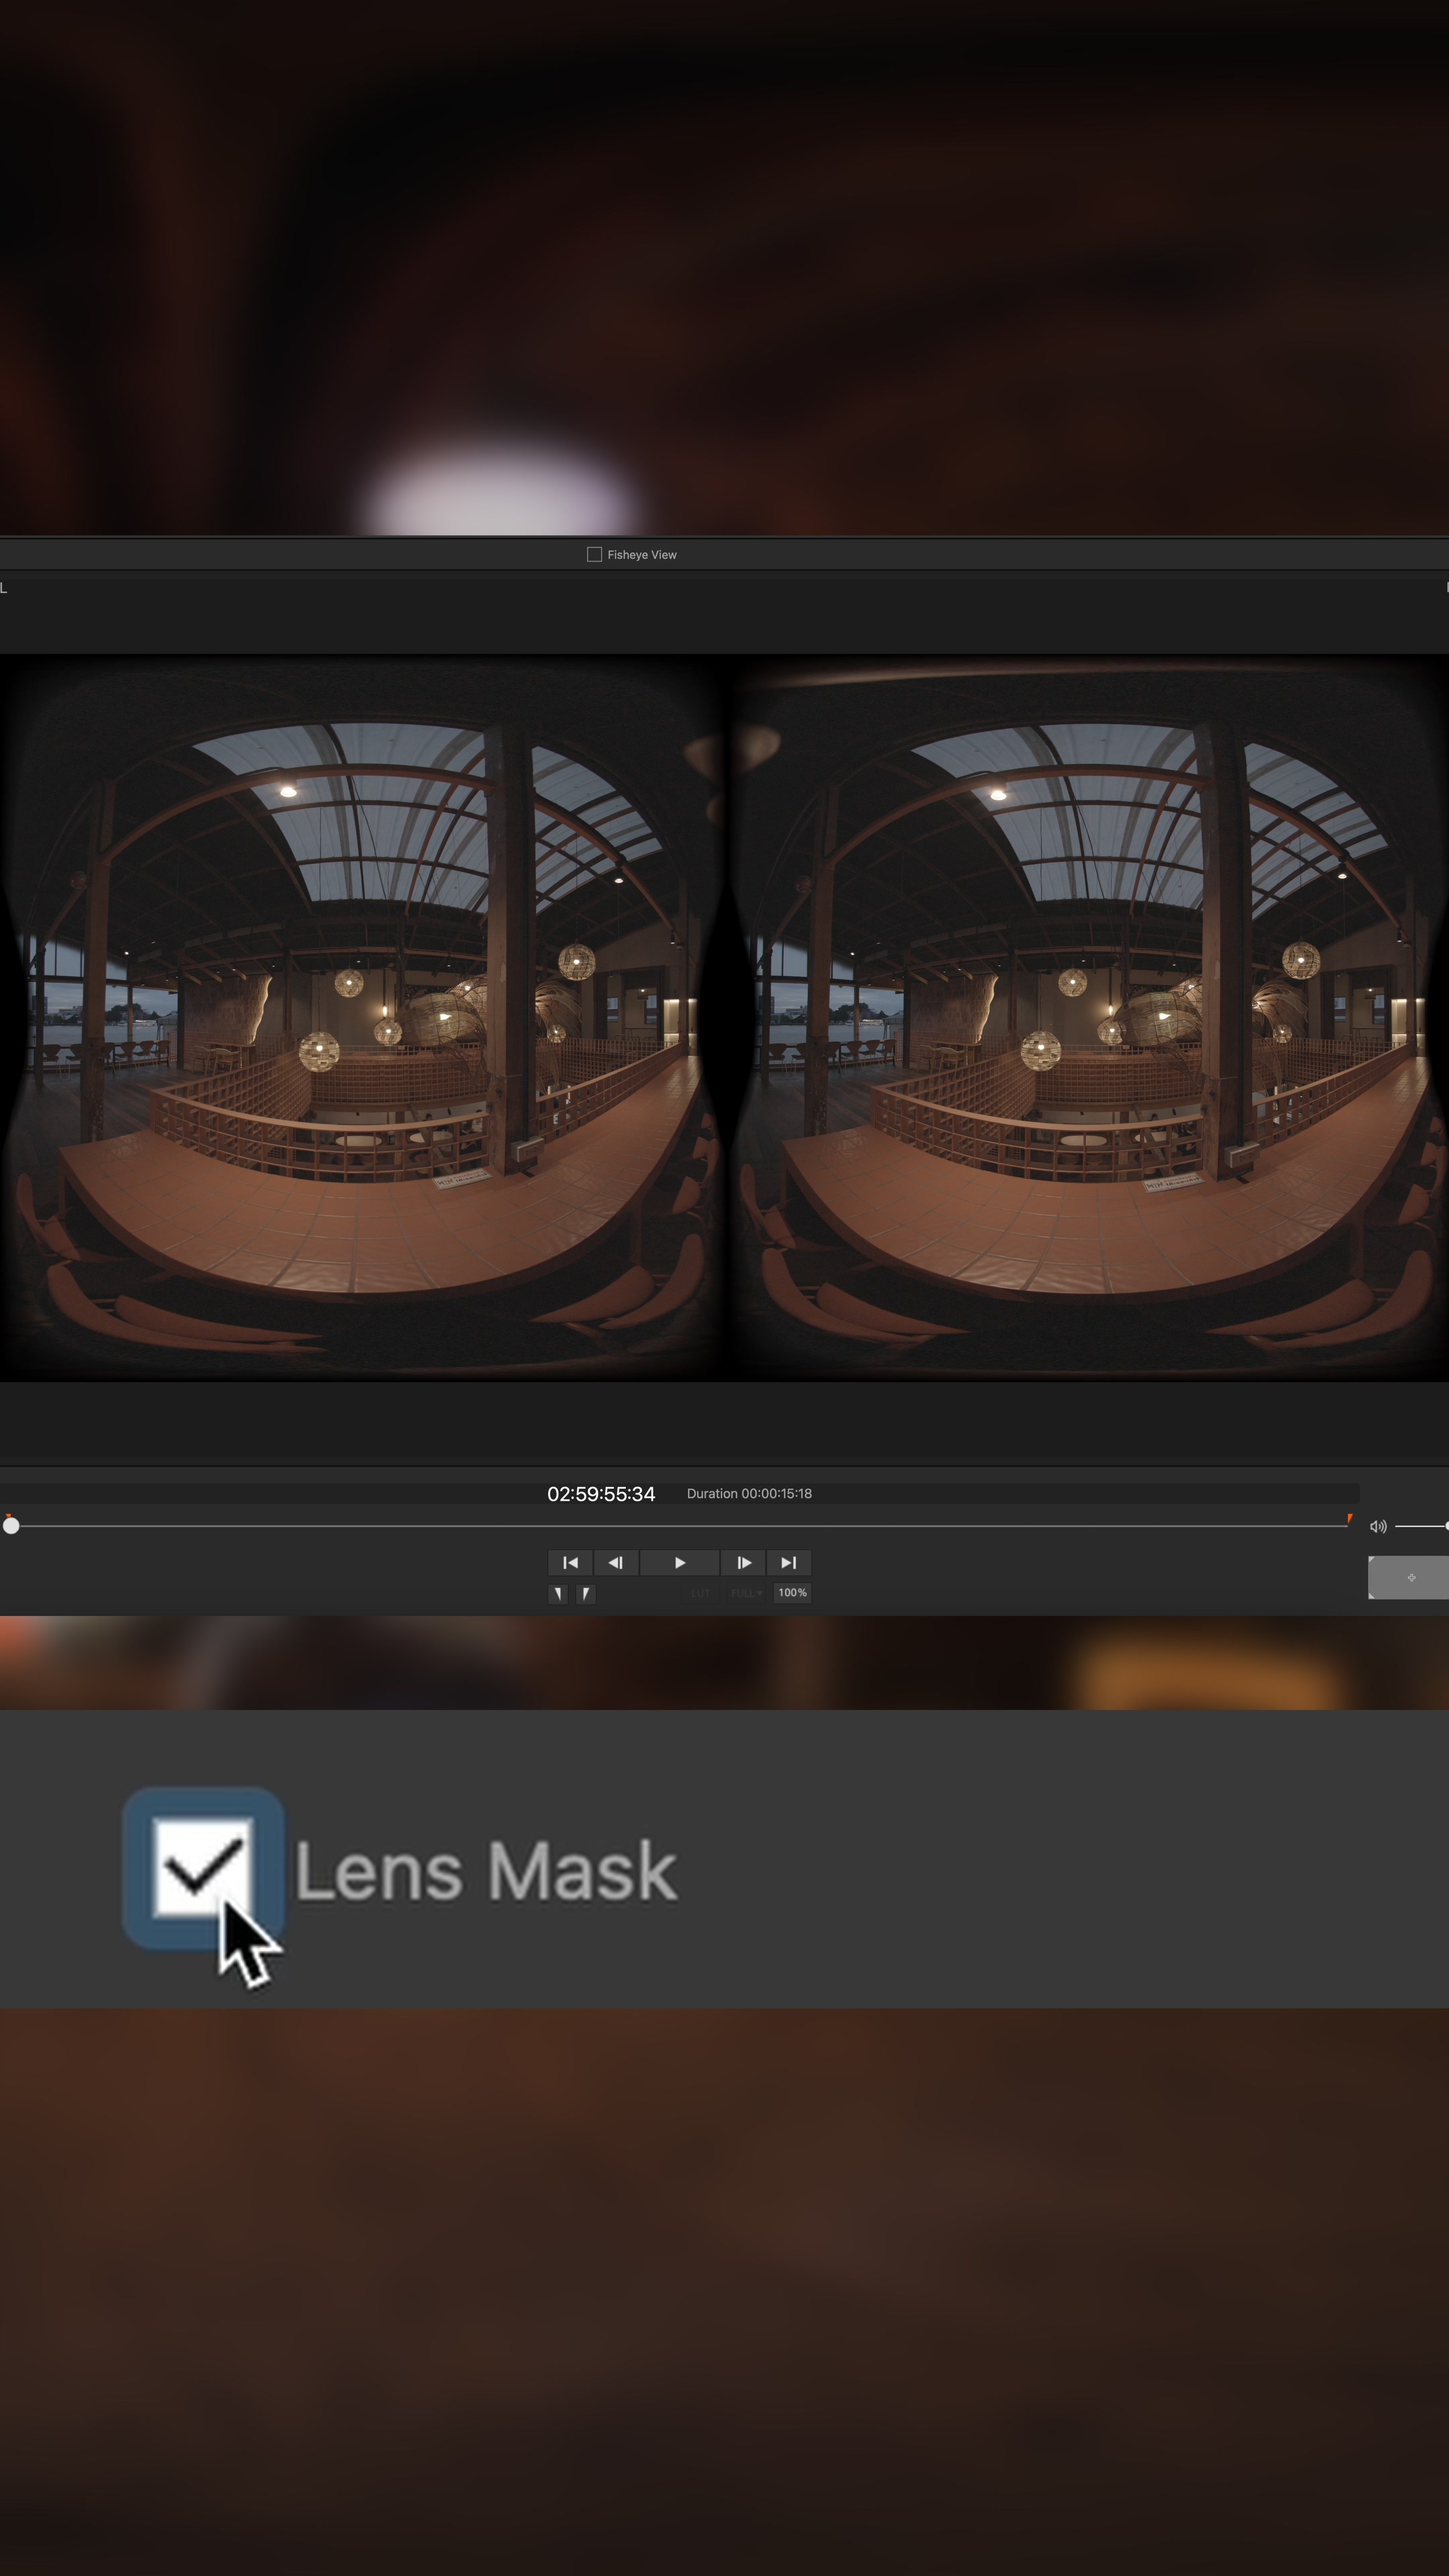
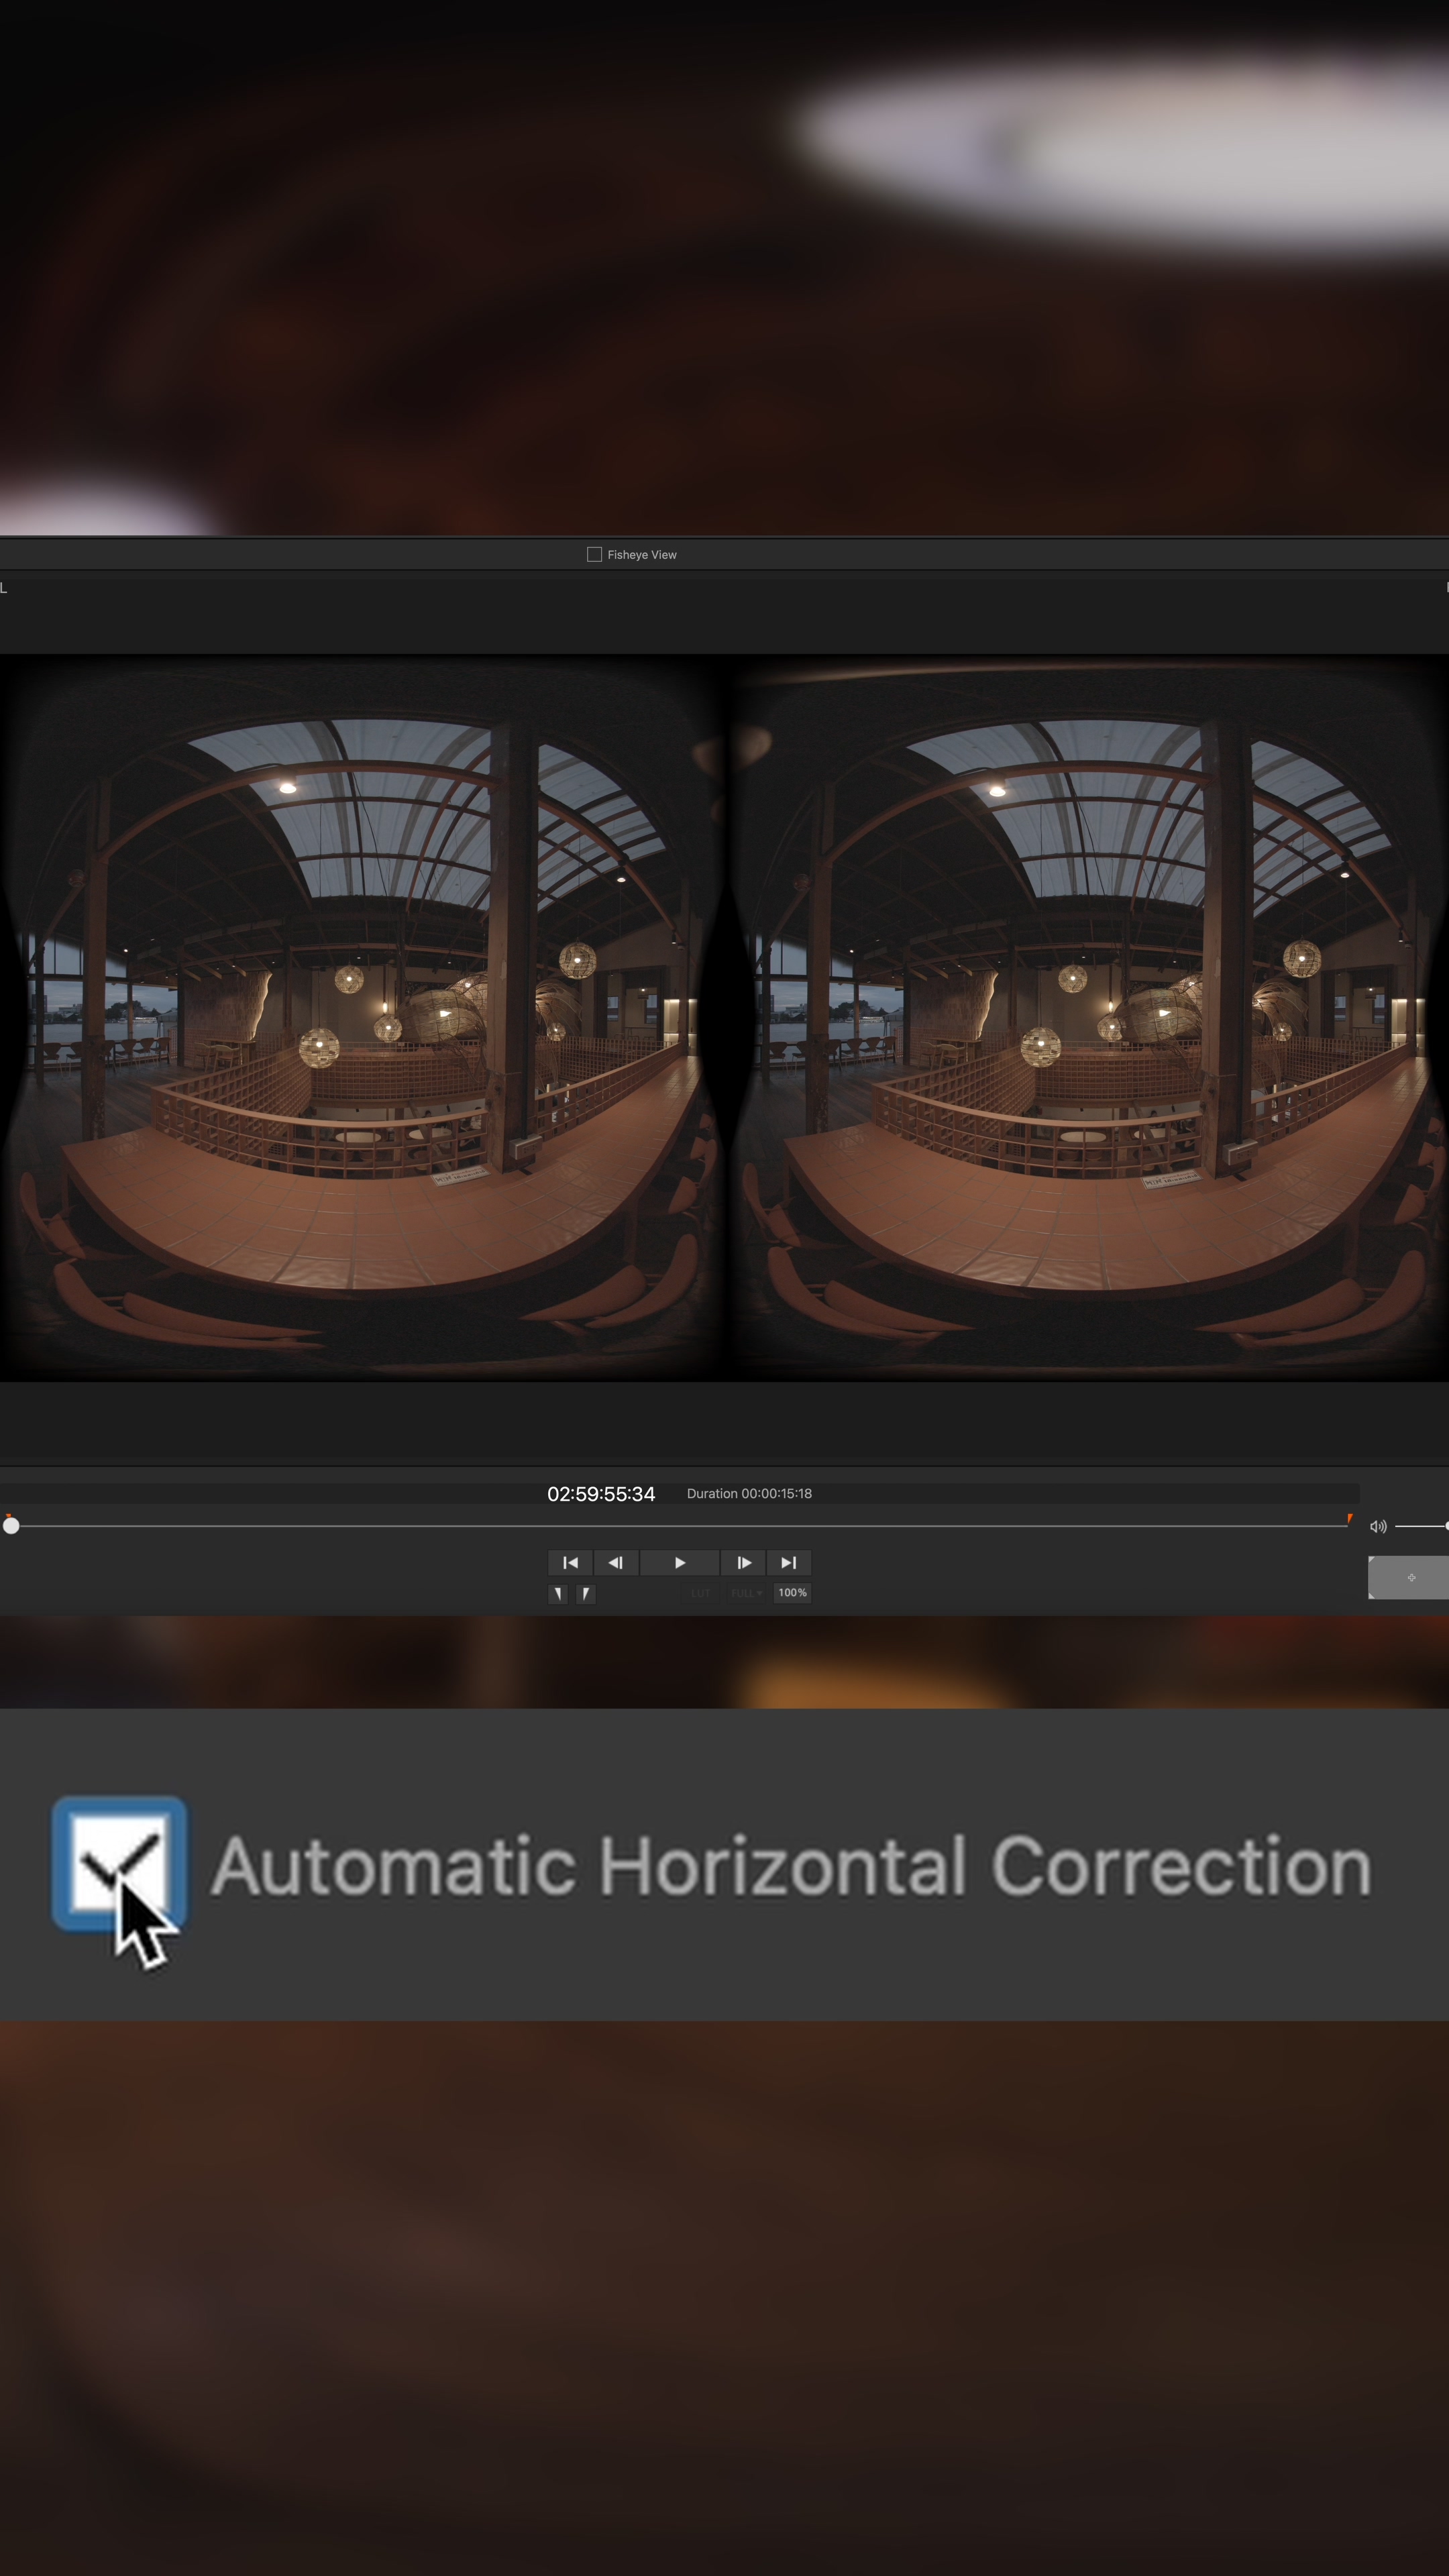
• โปรแกรมจะเข้าสู่โหมด VR Correction ที่ช่วยแก้ไข Parallax ให้อัตโนมัติ
• เปิด Toggle Lens Mask เพื่อให้เห็นขอบเขตภาพชัดเจน
• ถ้าต้องการให้ภาพตรงและสมดุลมากขึ้น ให้เปิดฟังก์ชัน Automatic Horizontal Correction
• เสร็จแล้วก็สามารถส่งออกไฟล์ในรูปแบบที่ต้องการ เพื่อนำไปใช้งานต่อได้เลย
Once you’ve finished shooting your VR footage, the next step is to handle parallax correction. To do this, we use Canon’s EOS VR Utility, which converts the footage from its original dual circular fisheye format into an equirectangular image—the standard format for editing VR content. Here’s a simple step-by-step guide:
• Open EOS VR Utility and import the footage you captured.
• The software will automatically enter VR Correction mode to handle parallax adjustments.
• Enable the Toggle Lens Mask to clearly view the image boundaries.
• For better alignment and balance, switch on Automatic Horizontal Correction.
• Once everything looks right, export the footage in your preferred format ready for editing or further use.
Equipments
Canon R5C • Lens F5.2mm f/2.8L Dual Fisheye


EP03 :: Song Wat Immersive


